
Frugal Grad Party Wins
1. Welcome Sign
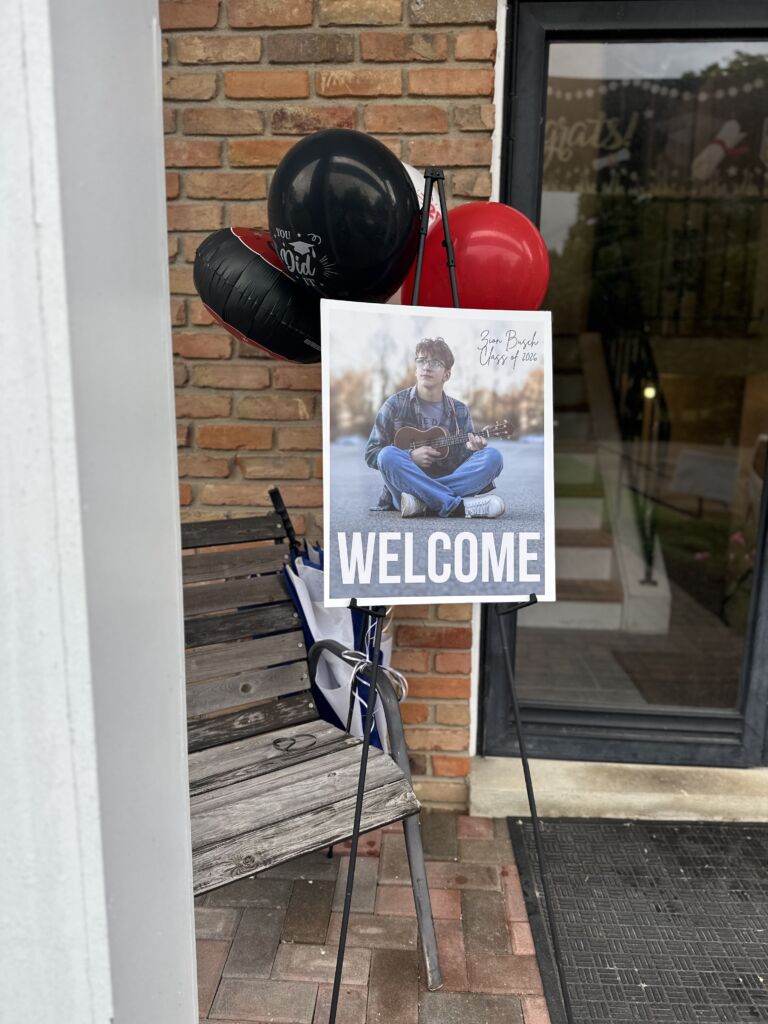
I saw a sale at Walmart and had to grab this 11×14 foam board print to welcome guests. I did have to purchase the easel, but it’s something I can use again.
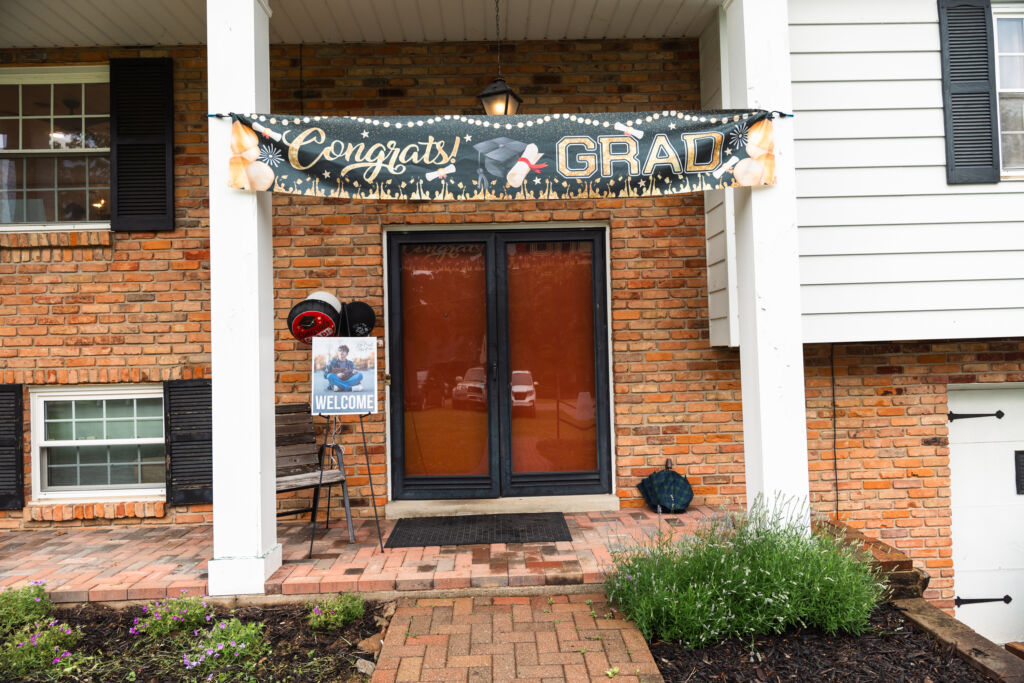
2. Congrats Grad Decorations
A lot of the decorations I used were given to me by a friend after her son graduated two years ago. I will happily use them again or share them with friends!
3. Card Box
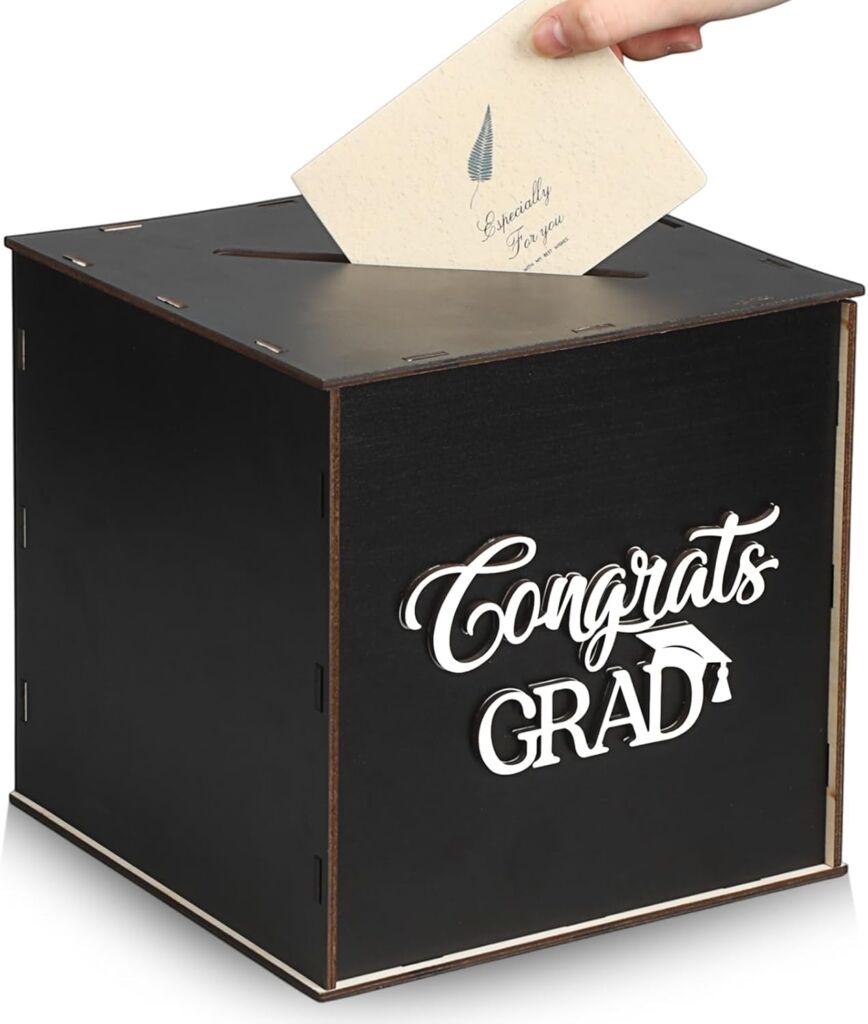
I did order a card box, but I made sure to get one that was sturdy, collapsable, and didn’t have the graduation year on it so I can use it again and again.
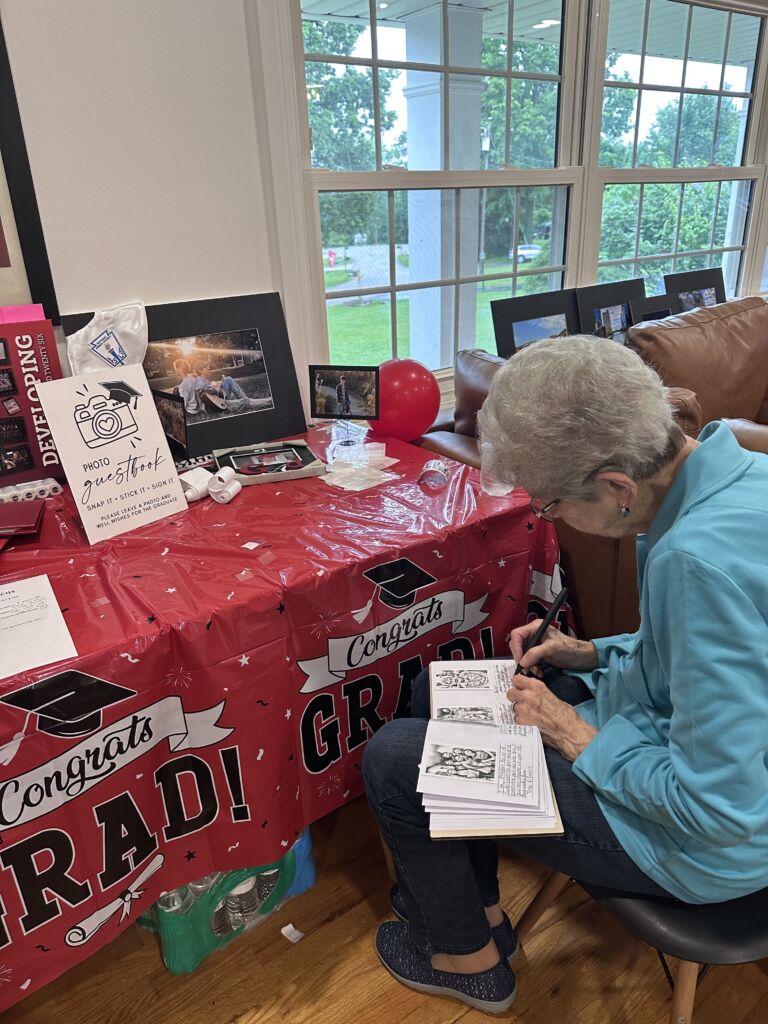
4. Instant Camera Guest Book
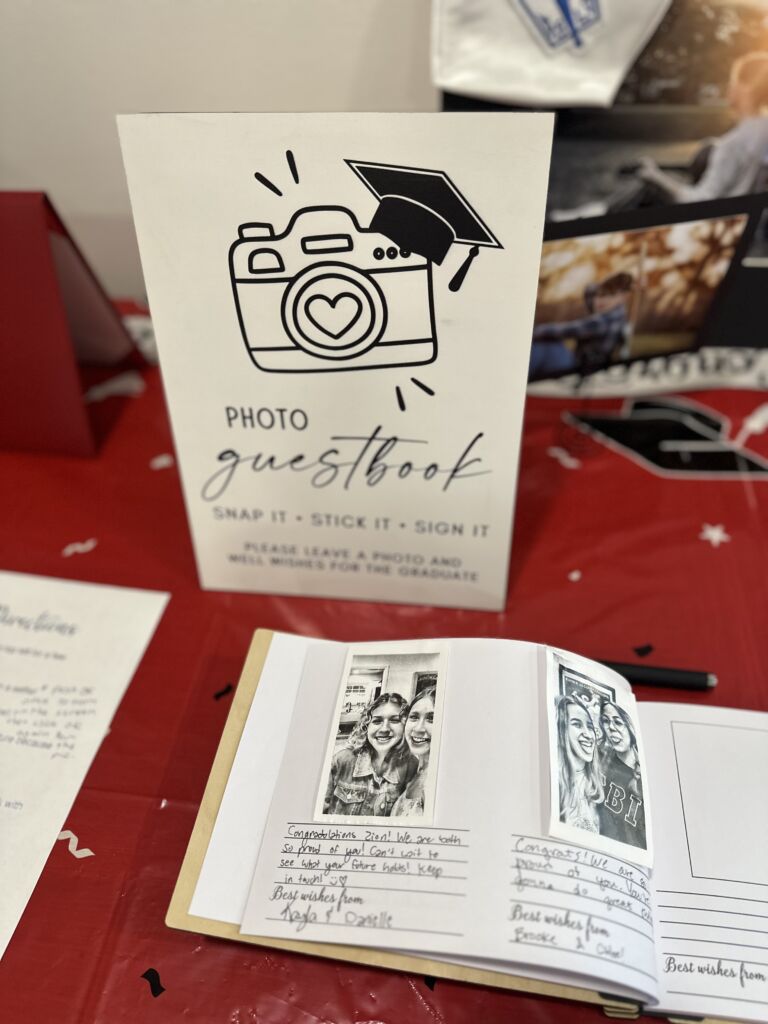
My favorite special feature was the photo guest book. It’s becoming pretty trendy to have a Polaroid guest book, and I knew Z would love something like that. The problem is that Polaroid cameras are expensive, and so is the film. I found an inexpensive instant-print camera made for kids and decided to give it a try. I wasn’t sure how it would go, but the outcome was fantastic!
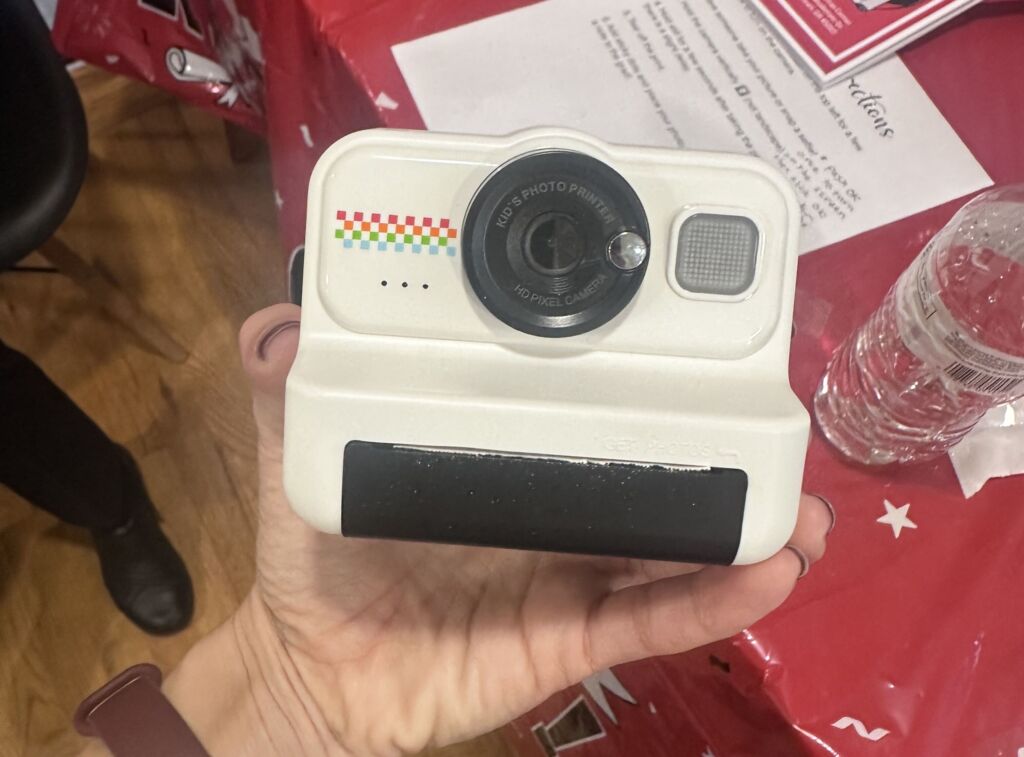
Everyone had fun taking pictures, and the photo guest book turned out so cute. It was a great deal on Amazon. The camera did need to be charged once during the party, and we had to reload the paper, but I would absolutely do this again.

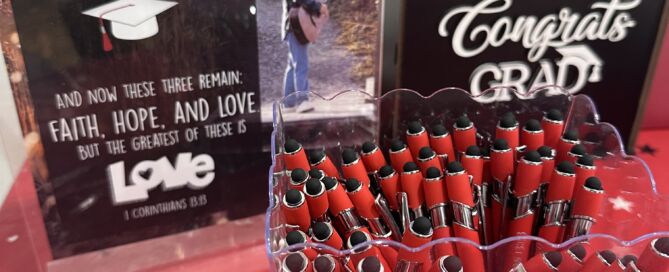
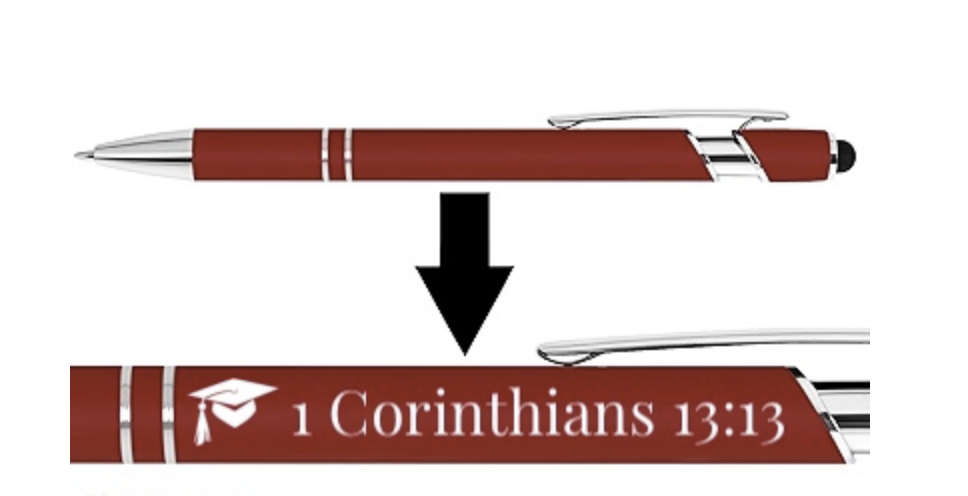
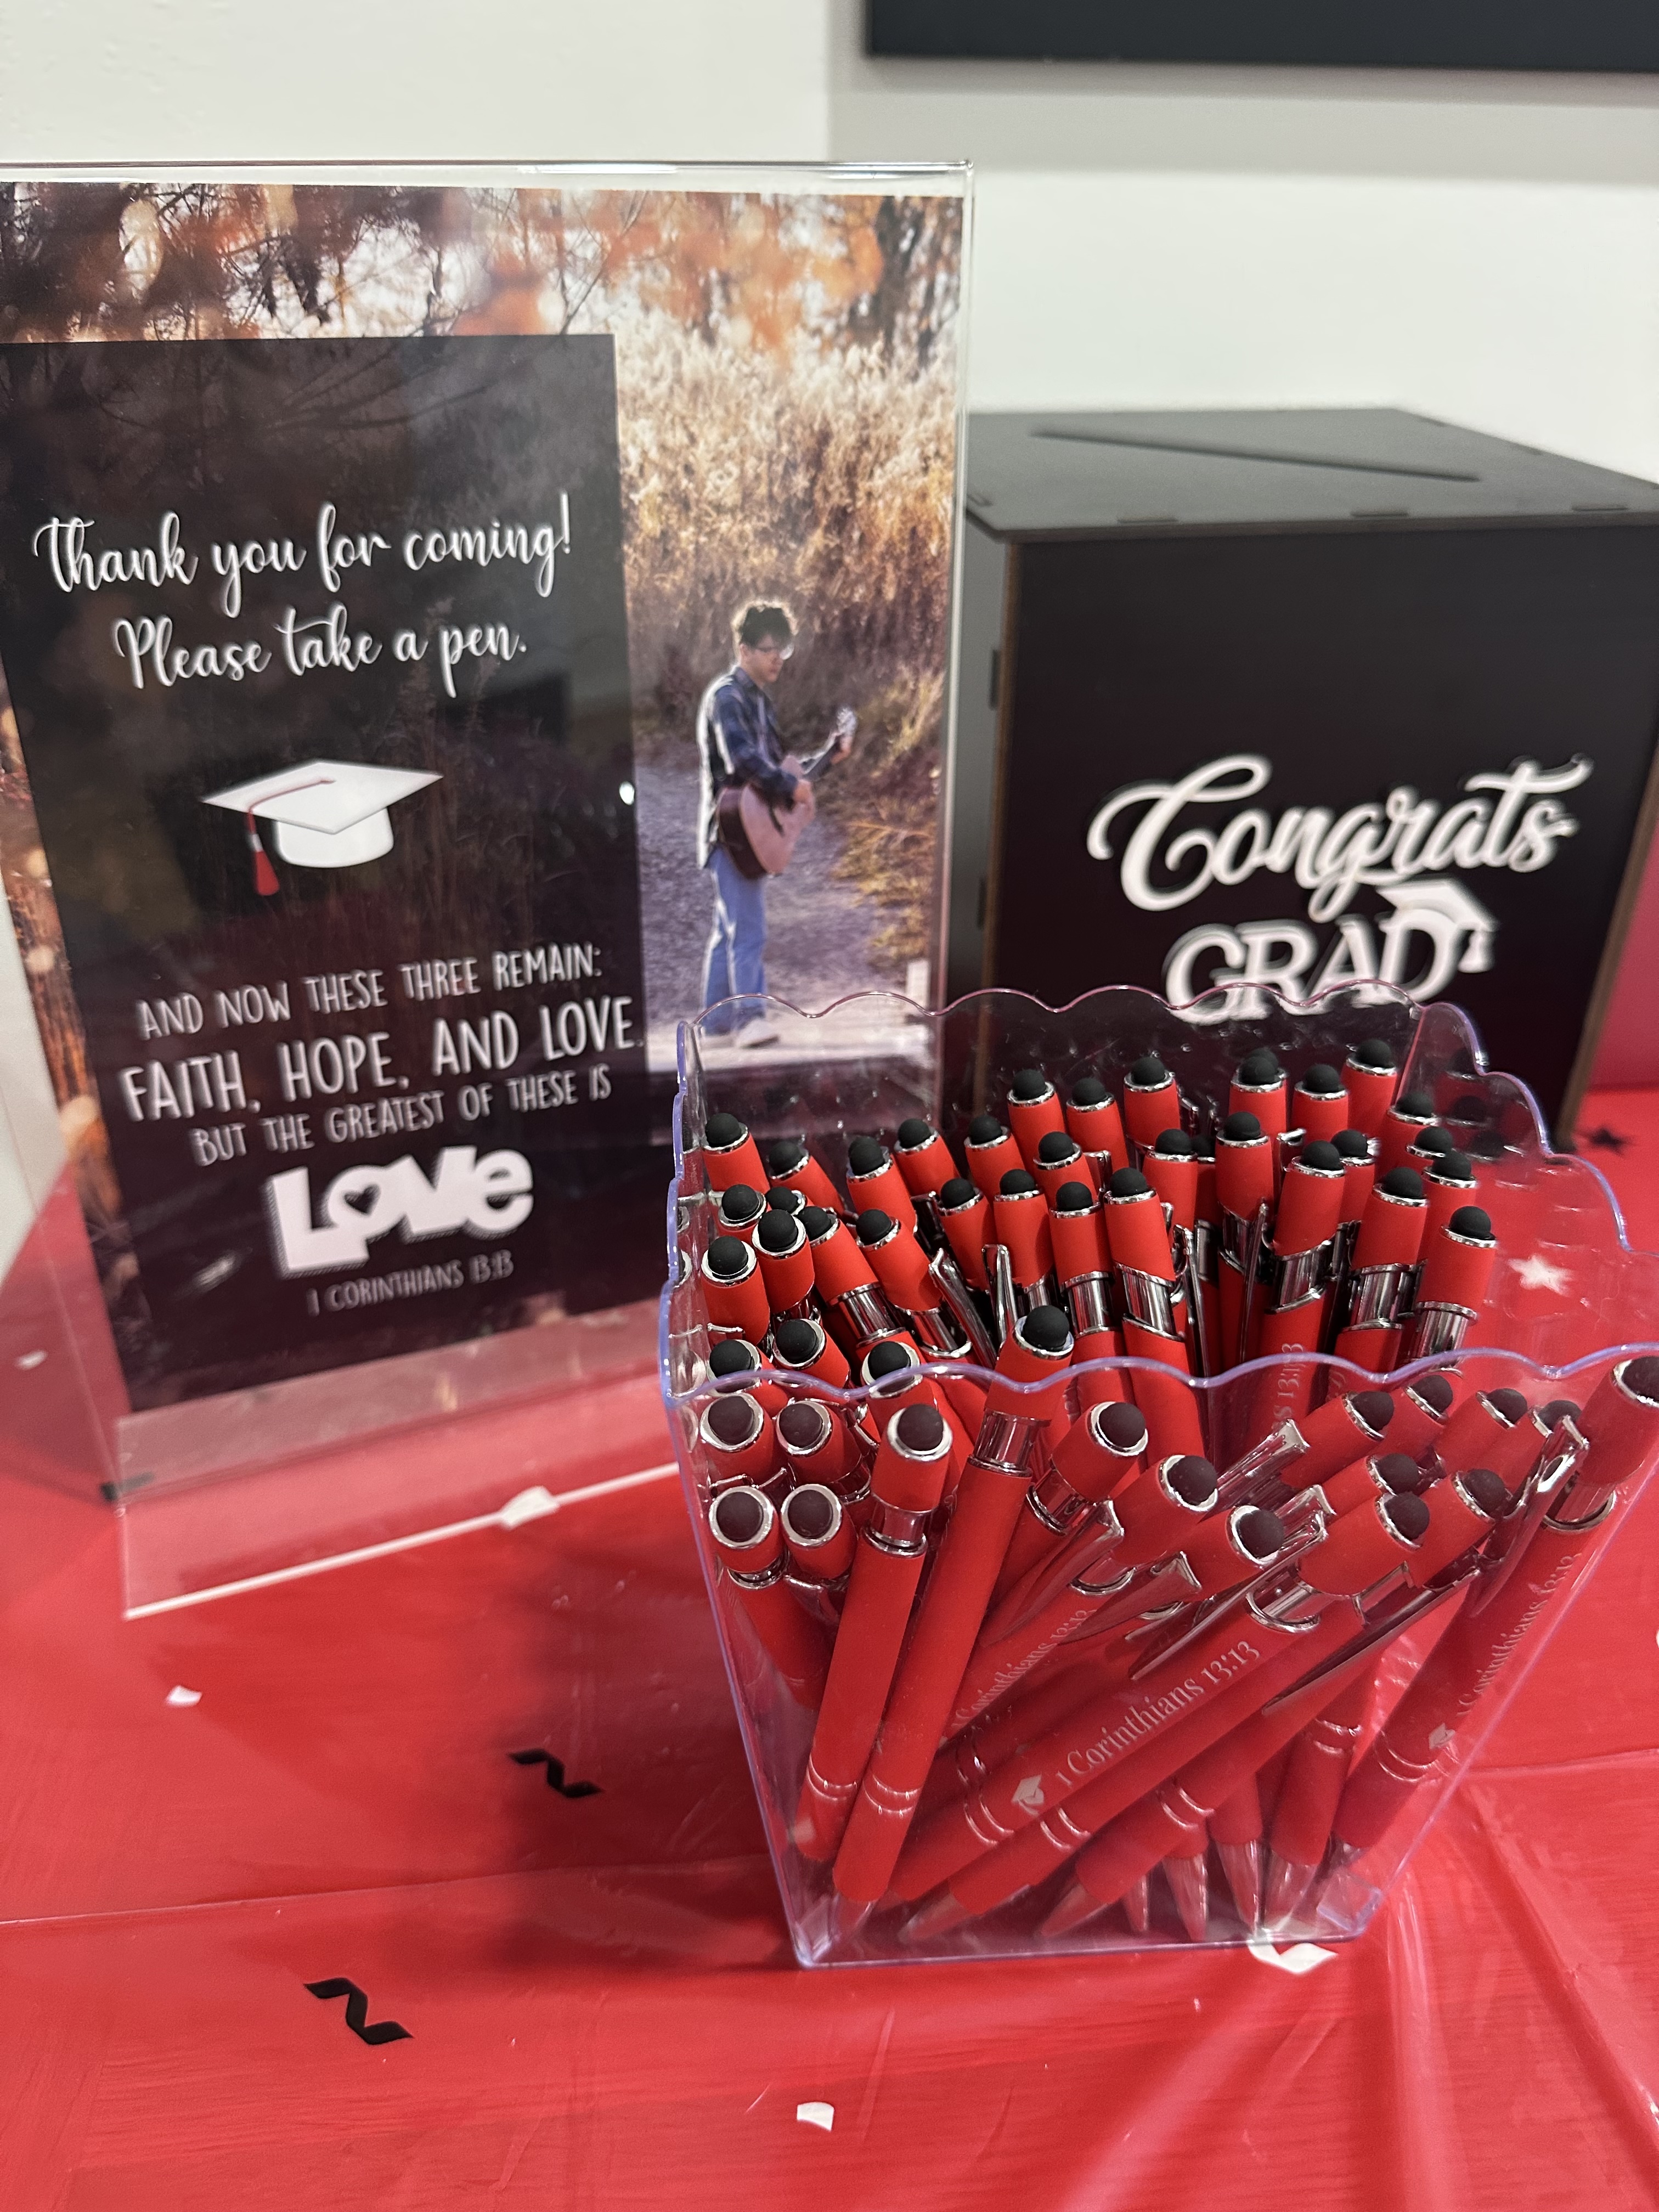
I wanted to have something special as a thank-you for guests and a keepsake from the party. I landed on pens because they are only 67 cents a piece and everyone can use a pen! Zion chose the verse: “And now these three remain: faith, hope and love. But the greatest of these is love.” (1 Corinthians 13:13). The color was perfect and I was very happy with the quality.
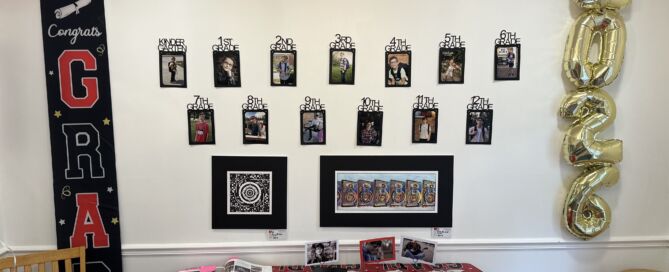
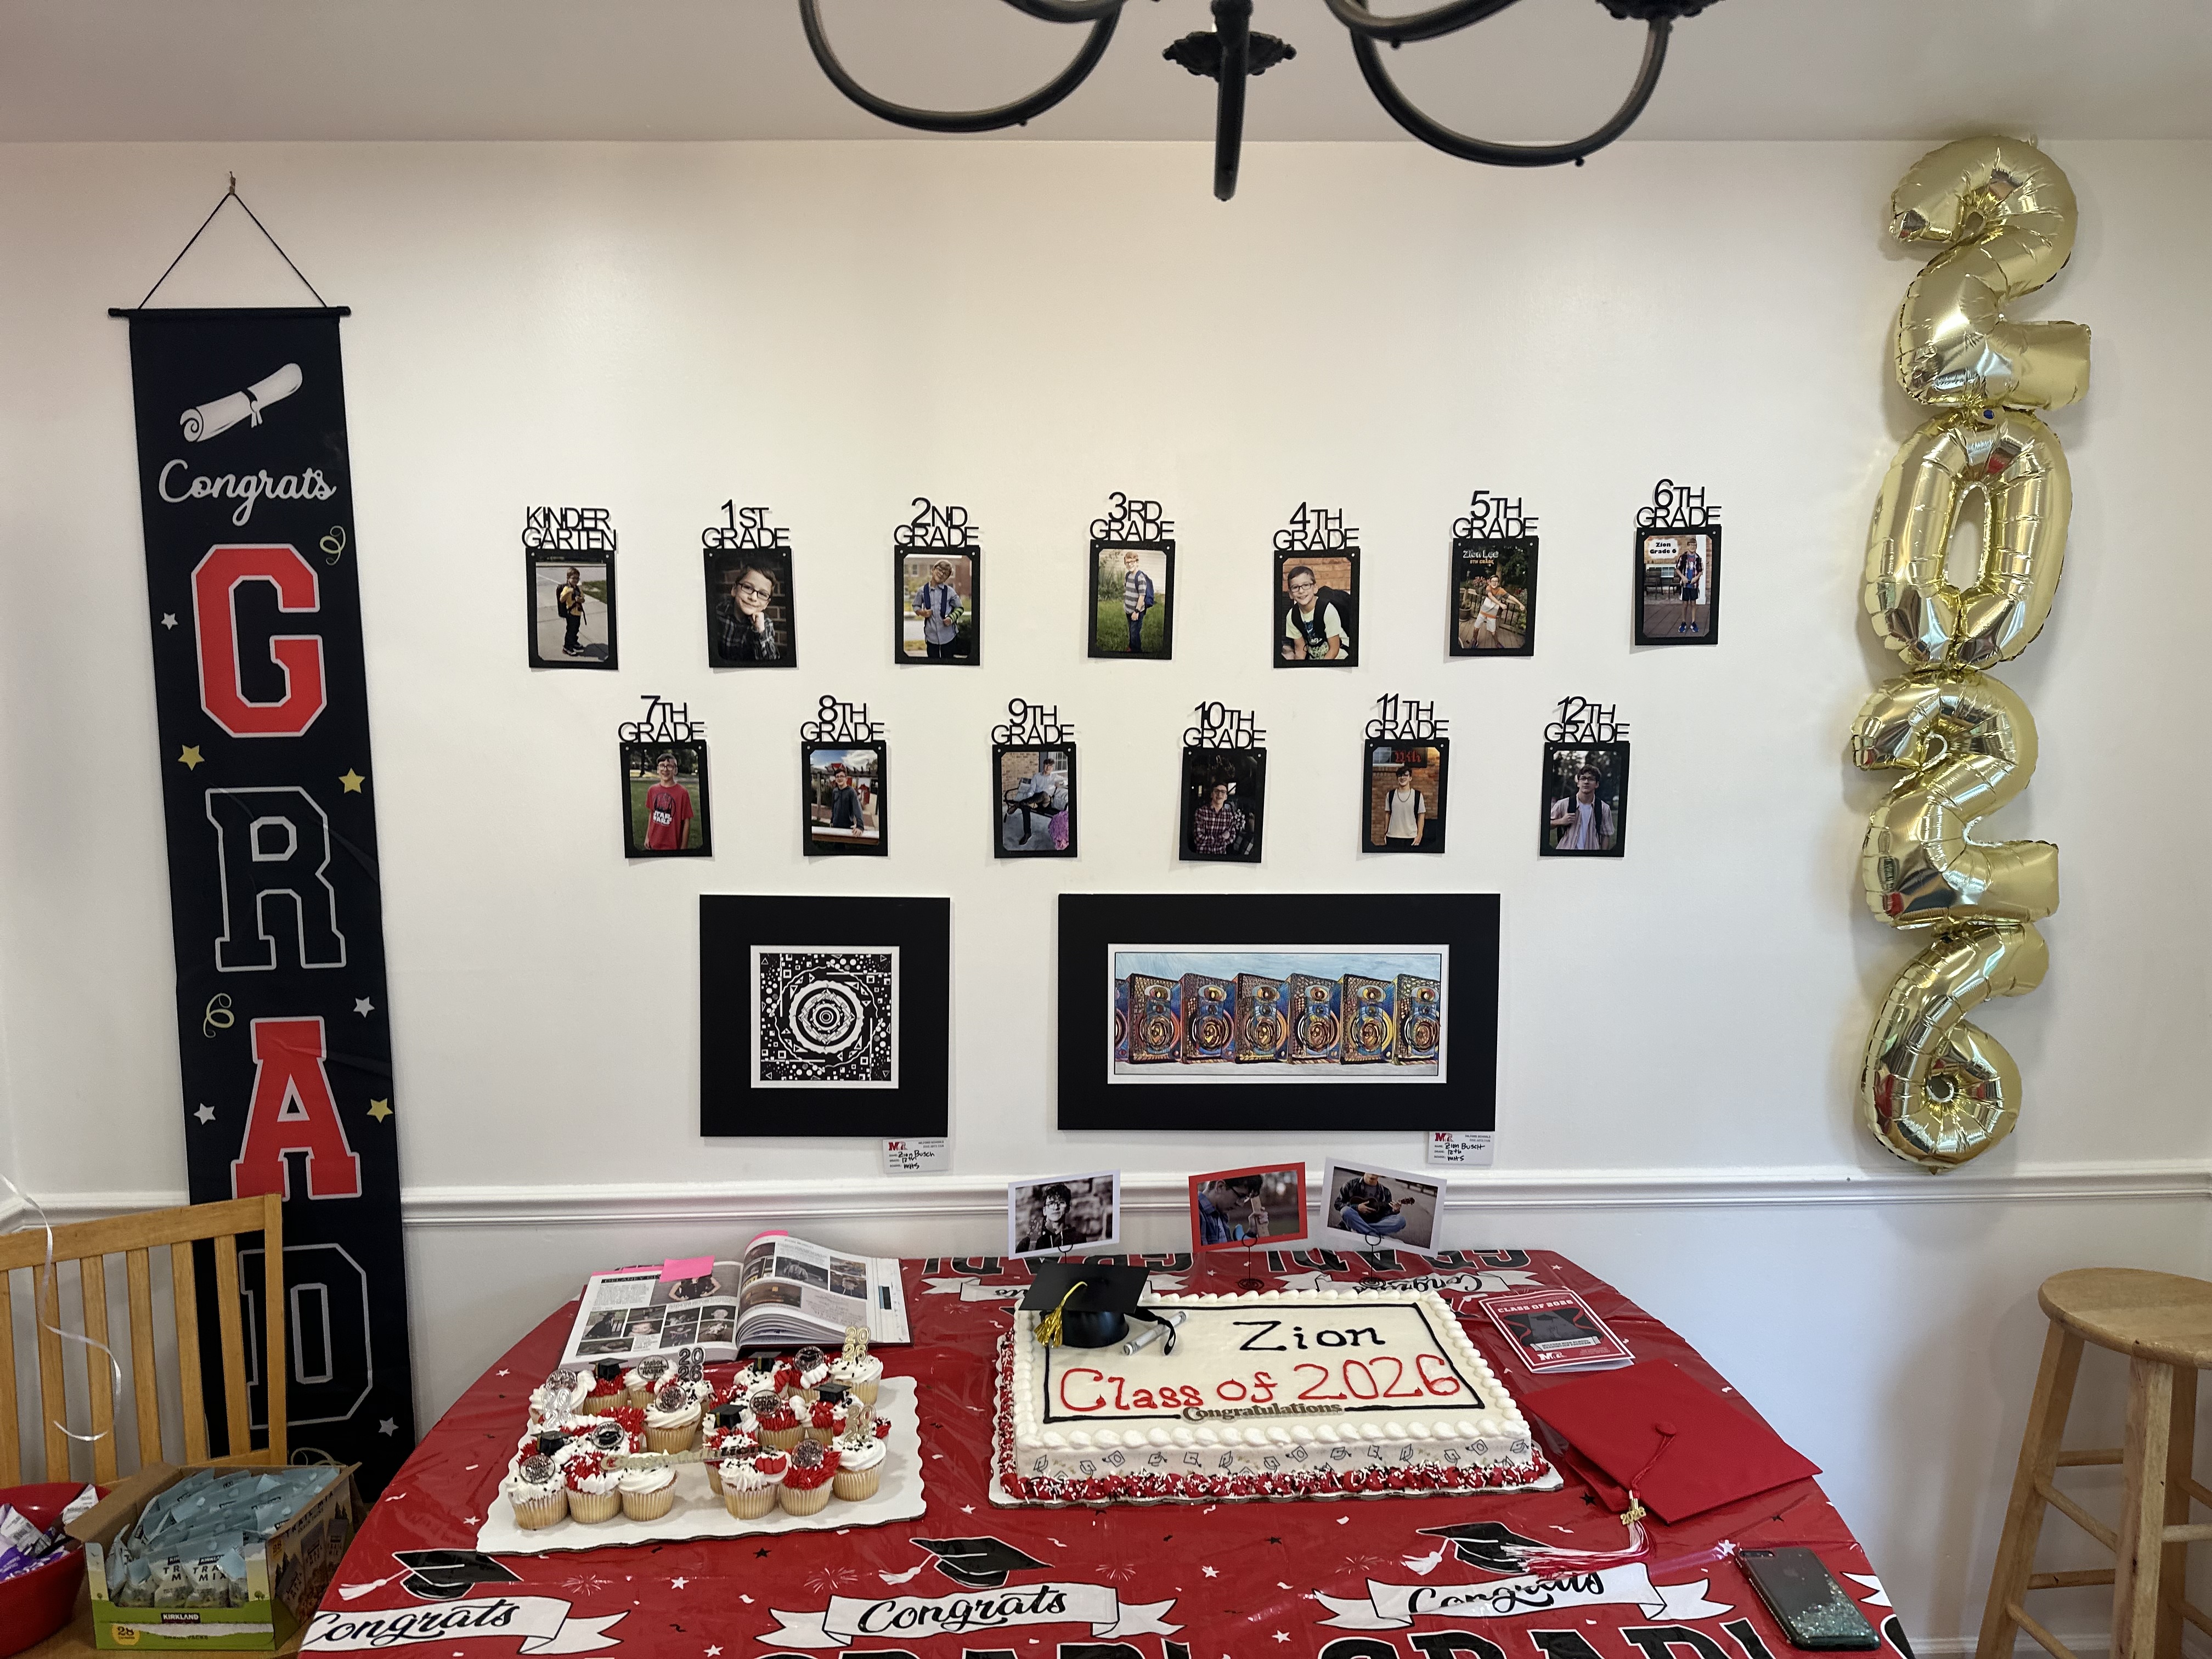
6. K-12 Pictures
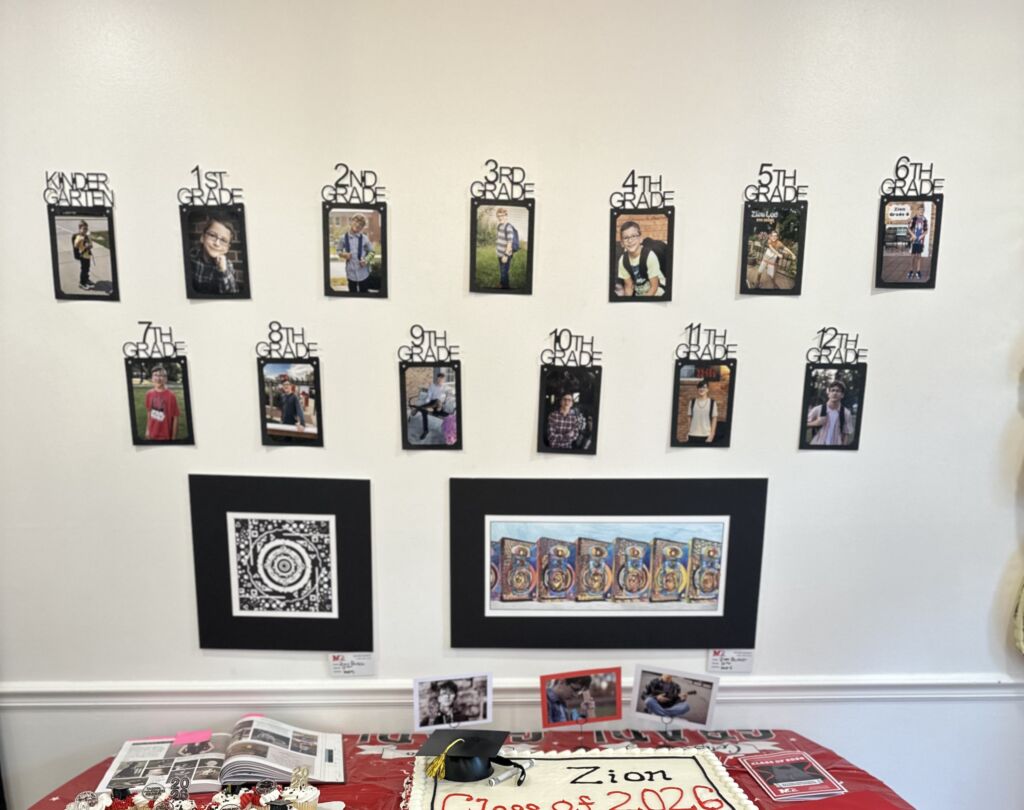
I’ve seen this at most of the graduation parties I’ve attended, and it’s always a hit. It’s really neat to see the progression from kindergarten through senior year.Side note the art work was a super last minute addition. It’s Z’s work so I figured why not display it?
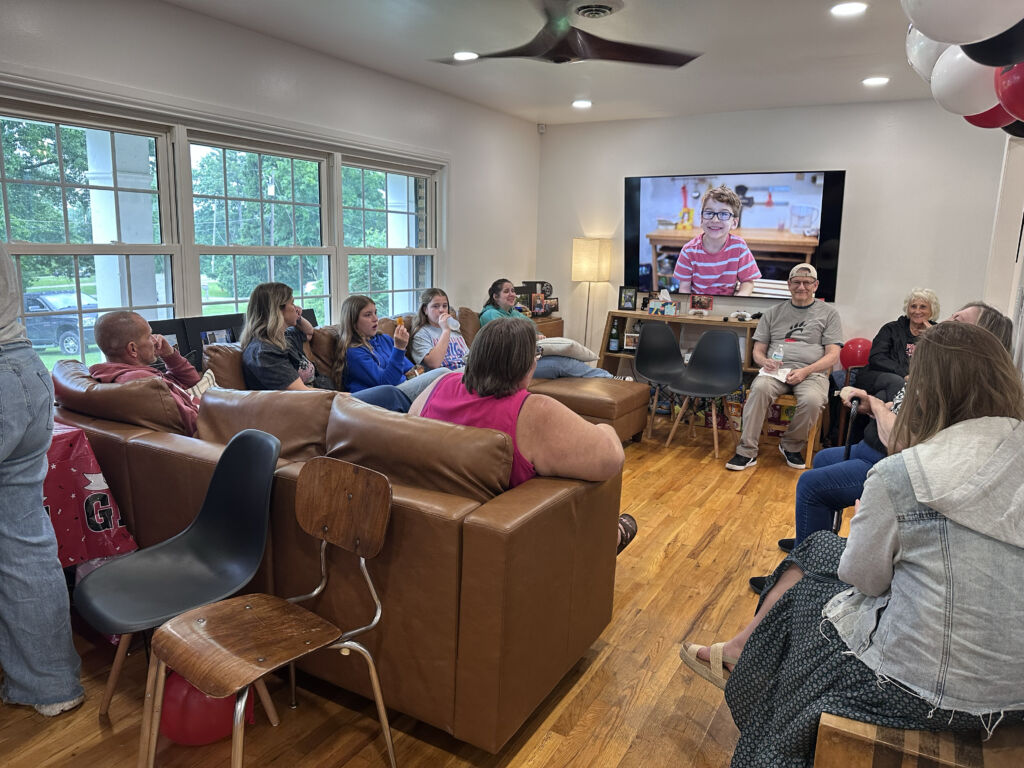
7. Slideshow on the TV
This is also super popular and an easy way to share favorite memories. It’s especially fun when the slideshow includes pictures of guests from moments they shared with the graduate.
8. Cake and 2026 Cupcakes
The cake is part of the decor!
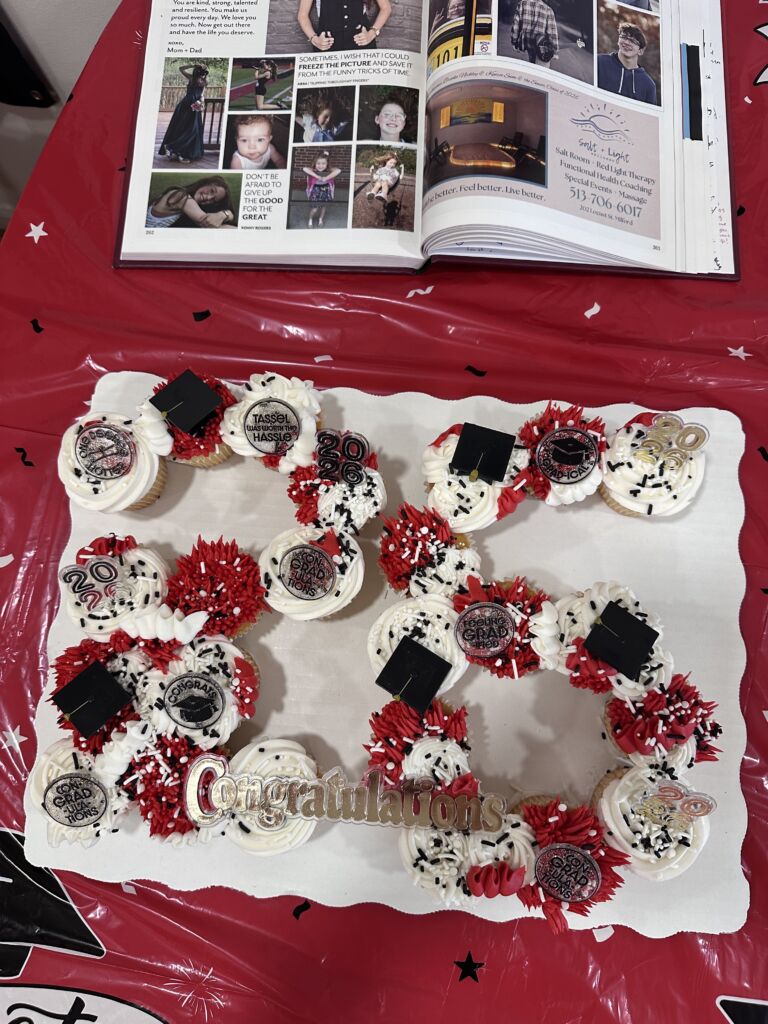
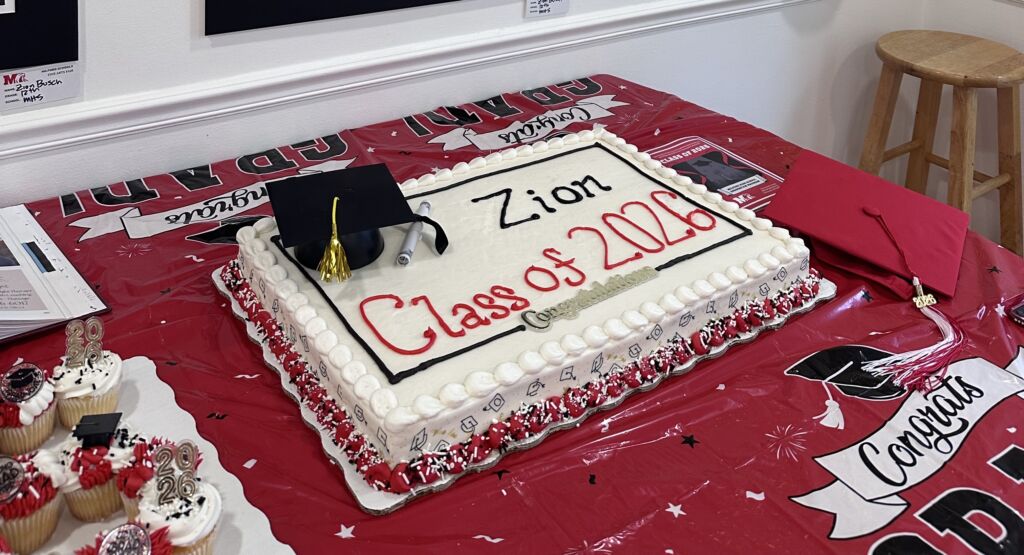
We opted for Walmart, and it was a great value. The cake tasted good, and they have really stepped up their bakery game. The grad cap and diploma toppings along with the decorate prints on the side were super fun. They nailed the color scheme too. Seriously, take a look at their catalog for your next party. And no, this isn’t sponsored.
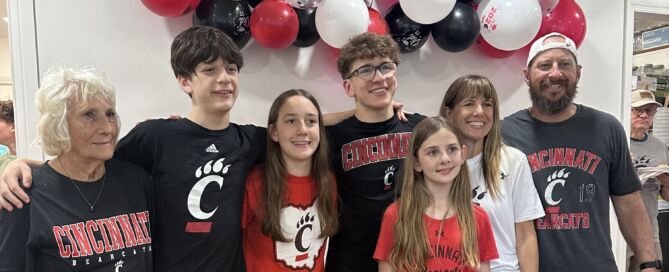
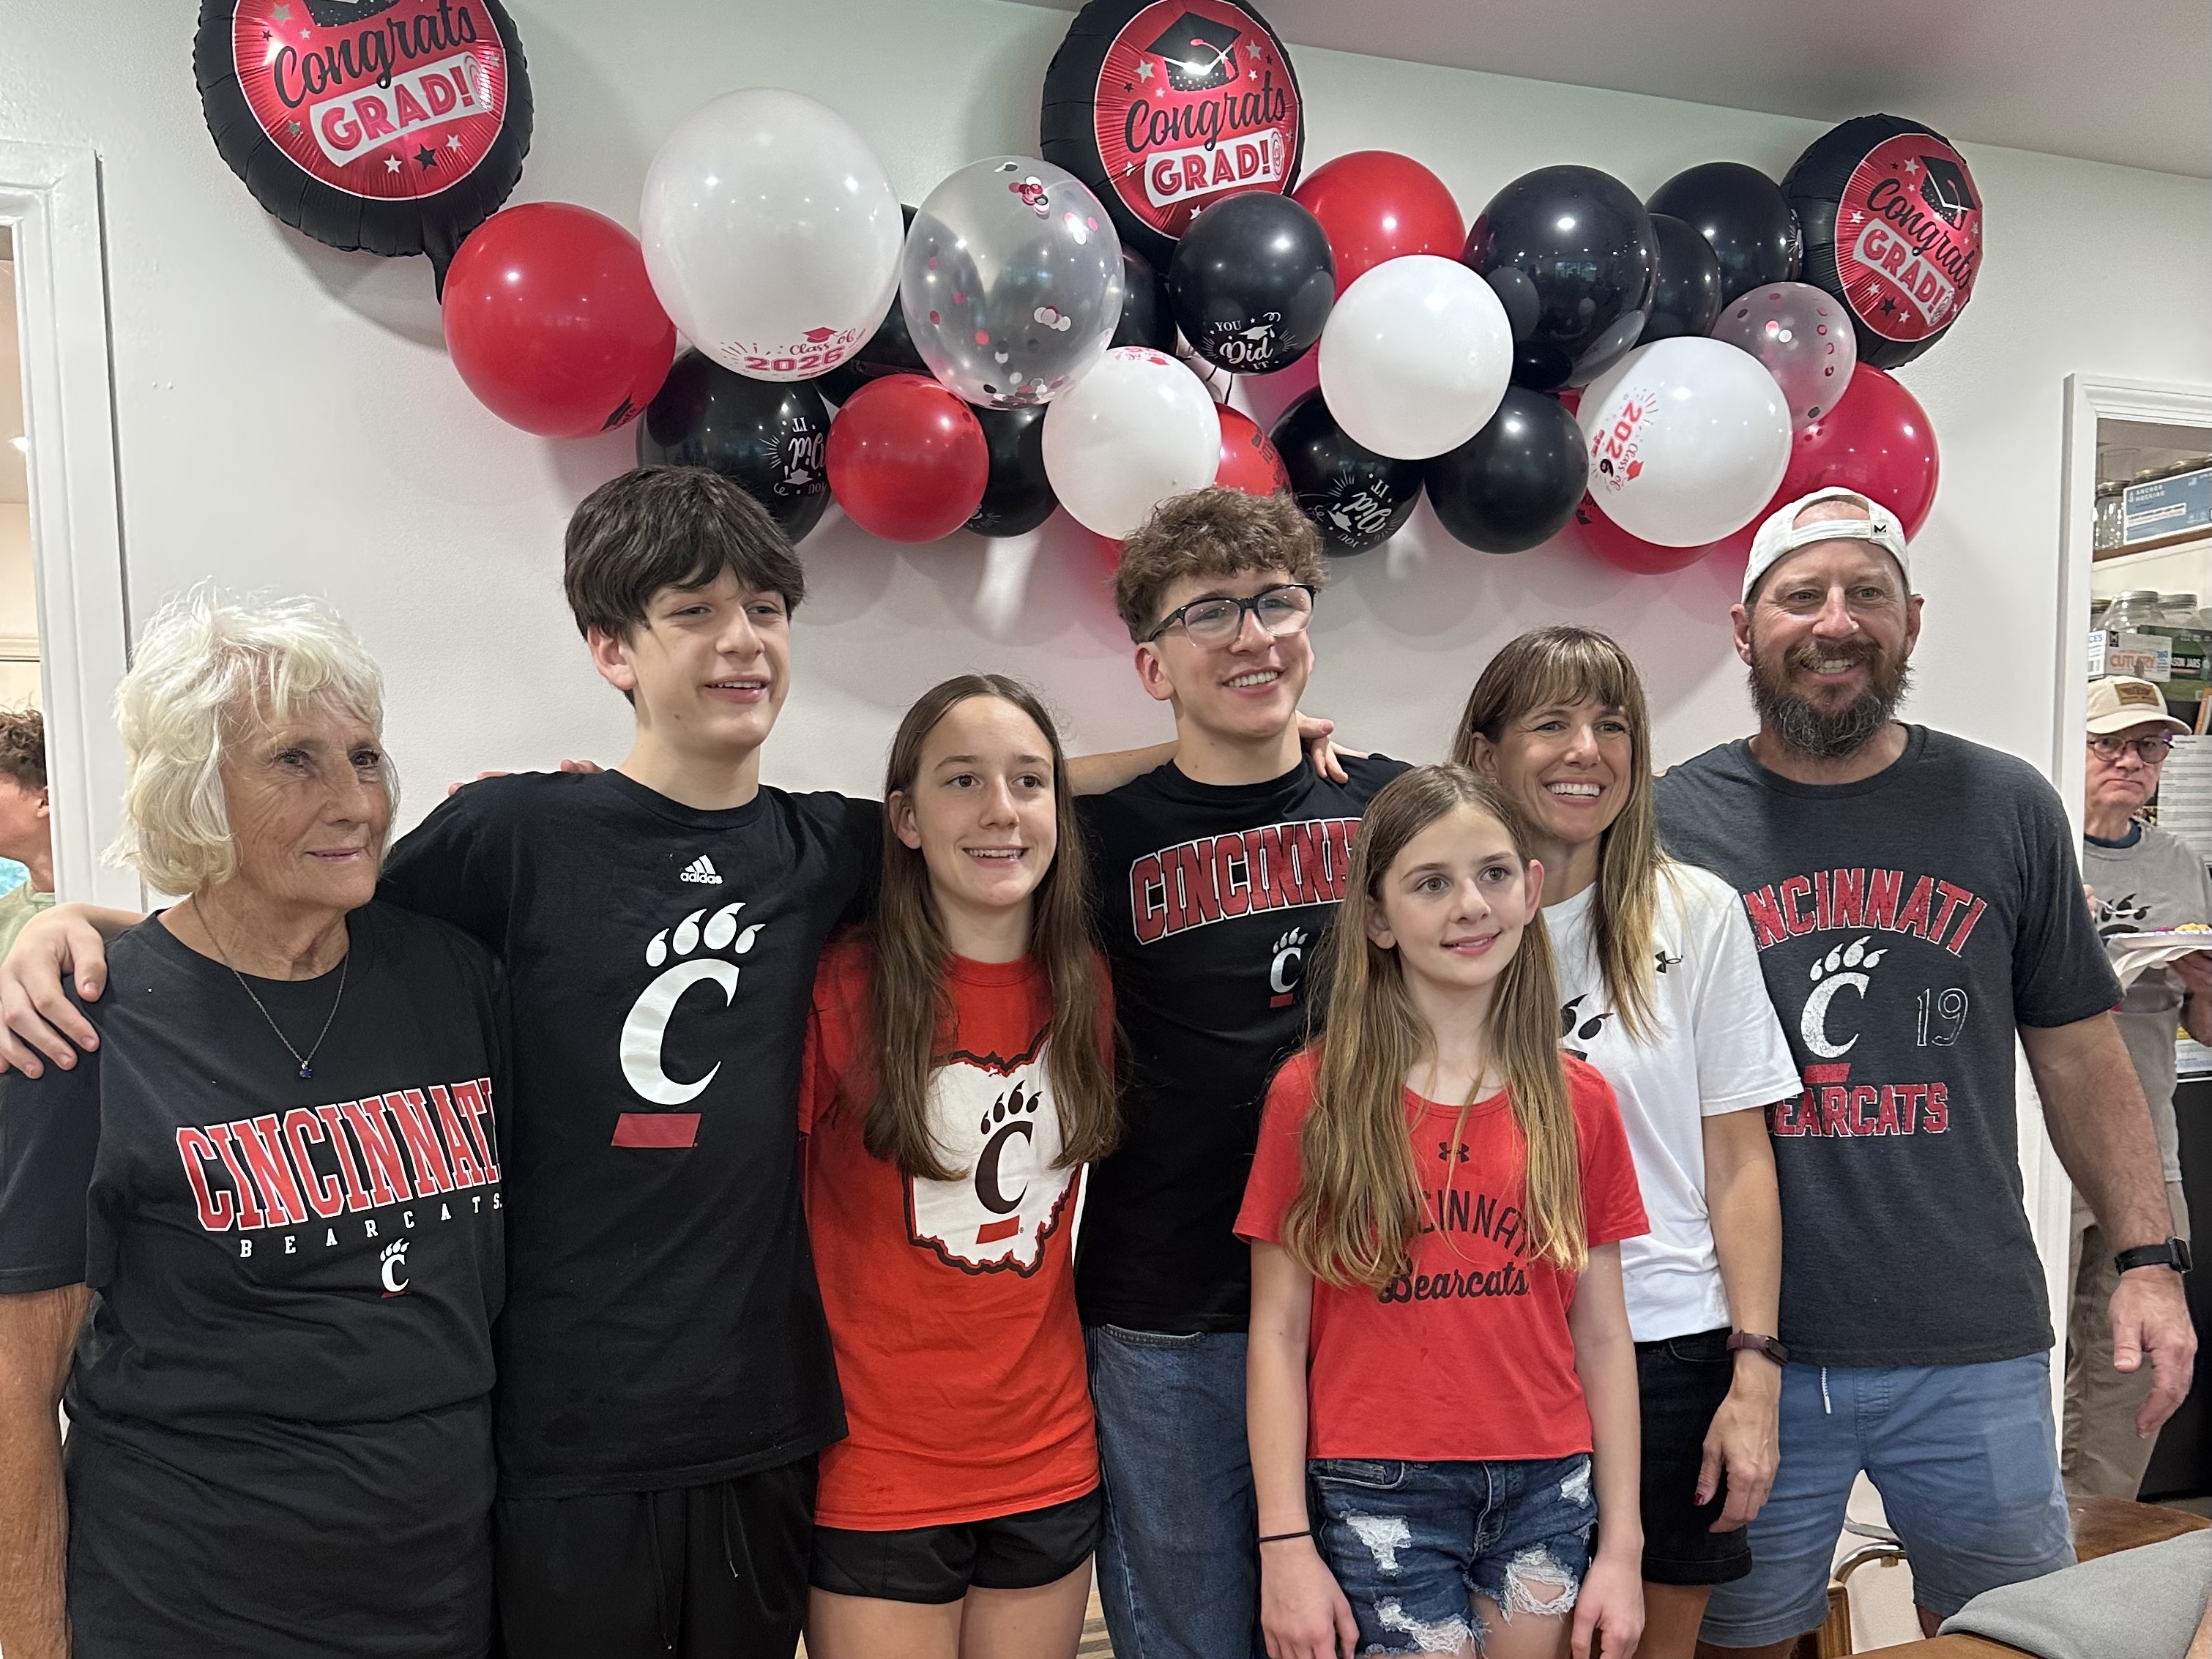
9. College Shirts

I hunted through so many thrift store racks to find nine University of Cincinnati shirts for all of us. Elle’s was the hardest because she’s still in kids’ sizes. I could have ordered online, but I tried to avoid that whenever possible. My biggest success came when Plato’s Closet did its Decision Day drop and put out all of its used college gear. The pictures were so much fun, and I’m really glad we decided to do this.
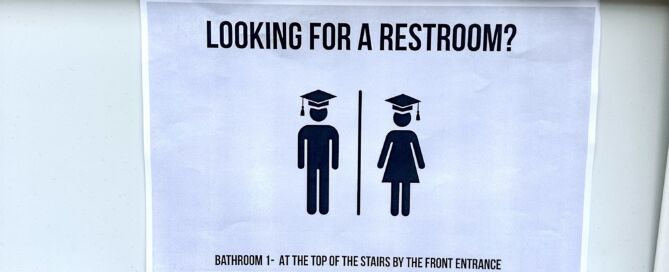
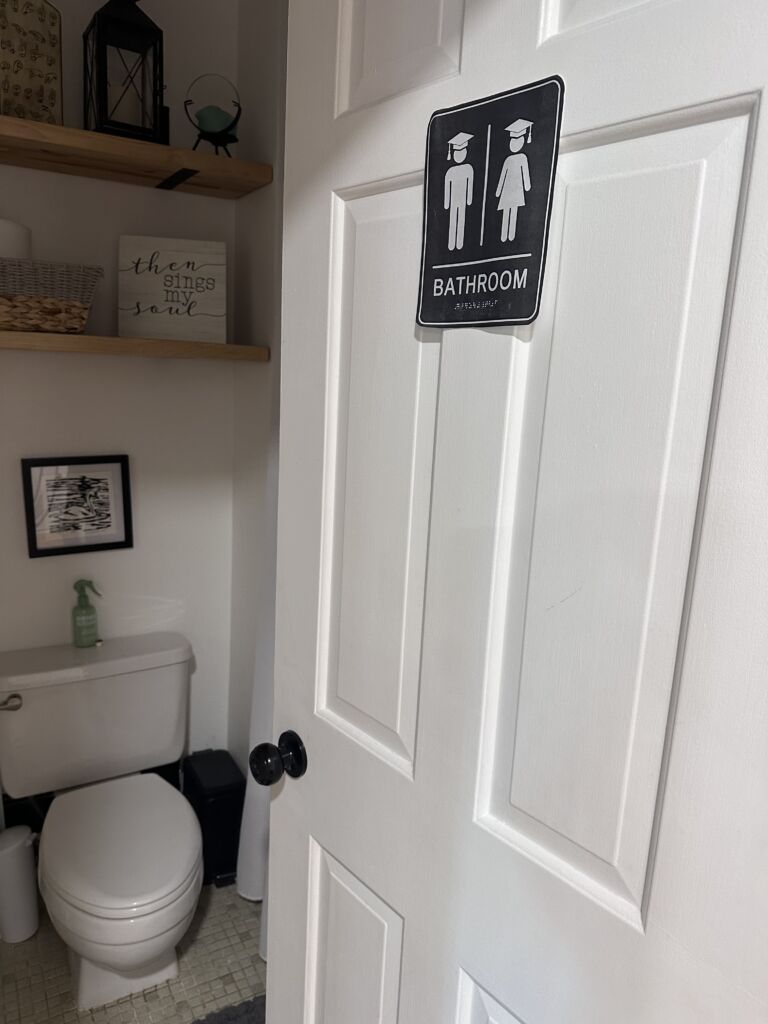
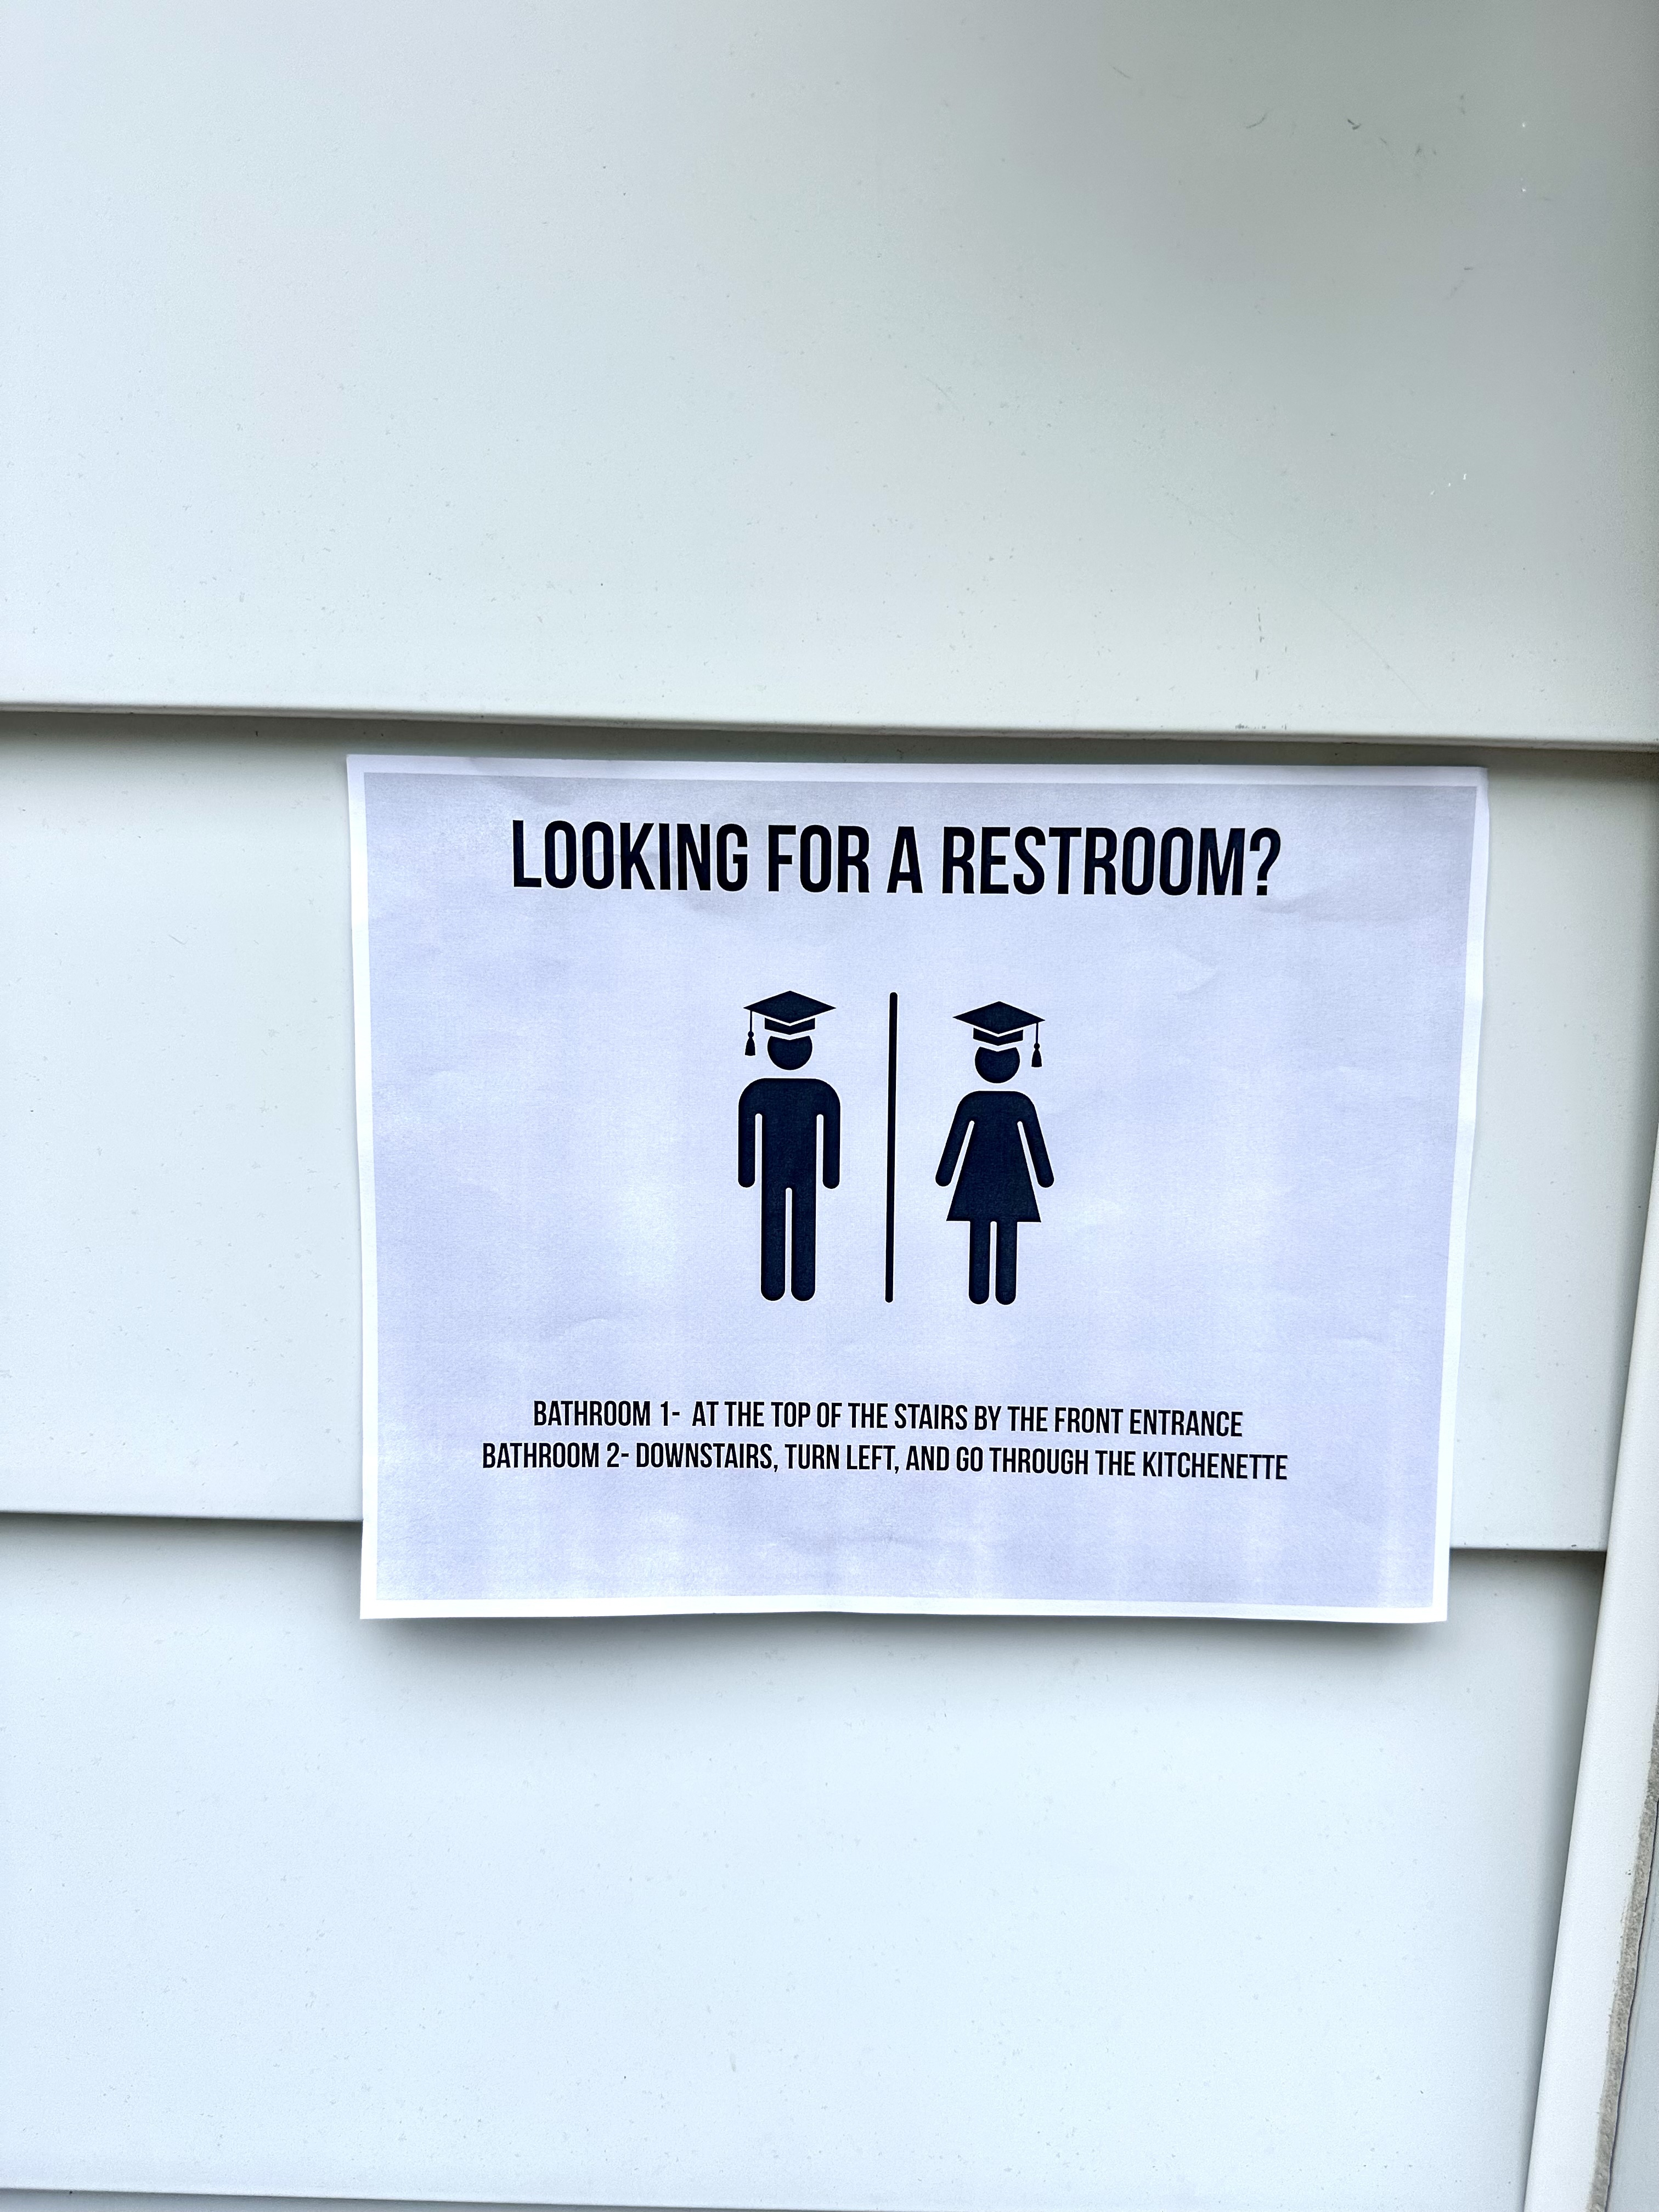
10. Grad bathroom signs
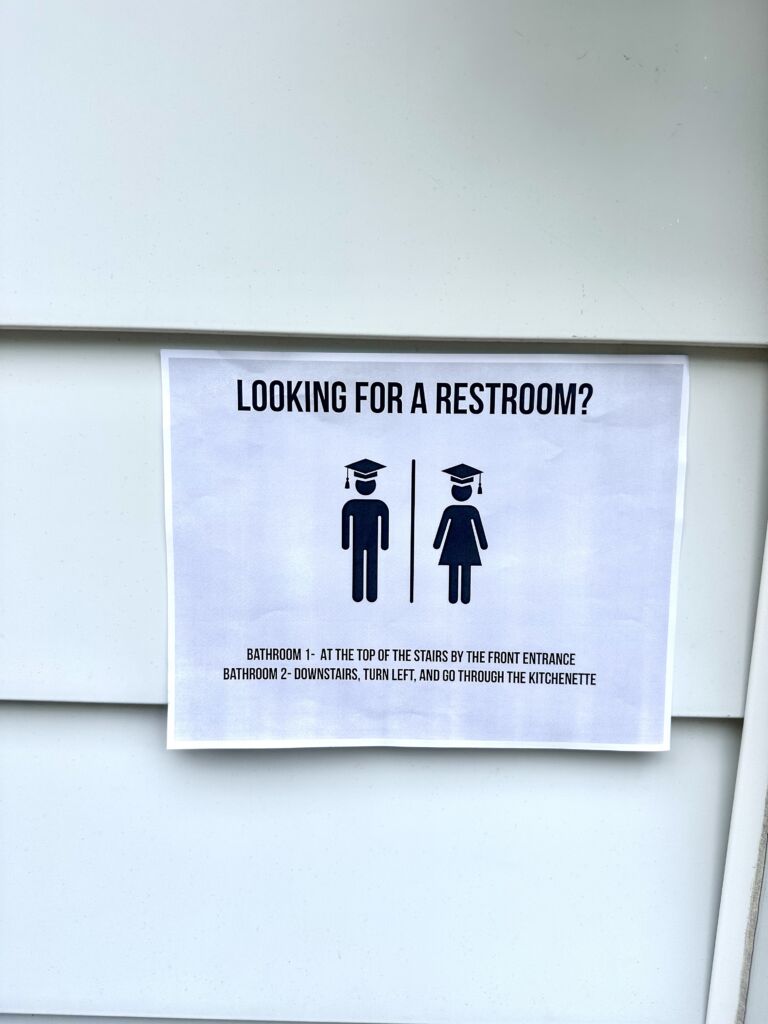
This was an original idea that I am happy to report was very well received. When you have large crowds of people not everyone is going to know where the resroom is and it’s awkward opening doors and wandering around so I made signs to make it easier for guest. The grad caps were a special touch that was an easy added touch thanks to AI.
It was a lot of work, but I am so thankful to have had a lot of help and it all went smoothly and I think everyone had a great time! I know the graduate loved it.
If I were forced to mention something I would have done differently I guess I wouldn’t waste money on helium again. It’s expensive, and I wanted to put balloons outside so guests could easily spot our house, but they just drooped. Next time, I’d skip the helium altogether. I would also buy less vegetables. I knew they wouldn’t be the most popular item, but on the other hand the chips, sodas, and smores that I have left over will last a long time, fresh veggies will not. That’s not a big deal though. All in all it was a huge success!


 Then I added an additional party favor which were these cute little winter squishmallow ornaments that I got as sets on sale from Costco.


