

Back in June I did a blog post titled “Apartment Hunters” where I did an HGTV style review of each of the apartments we looked at. Our first choice was the one with the hardwood floors. Not just because they are cute and stylish, but because the messy mom has three very messy kids and I know carpet wouldn’t stand a chance with us.

In the end though we were not able to get our first choice apartment, but it’s okay because our second choice was actually a little bit more spacious believe it or not. Playing the hand we were dealt we were determined to make this space work for us. We signed a lease on a carpeted apartment and that was that. Except, when my husband has his mind set on something you can’t hold him back.

J making a digital floor plan on in the carpeted apartment when we first signed.
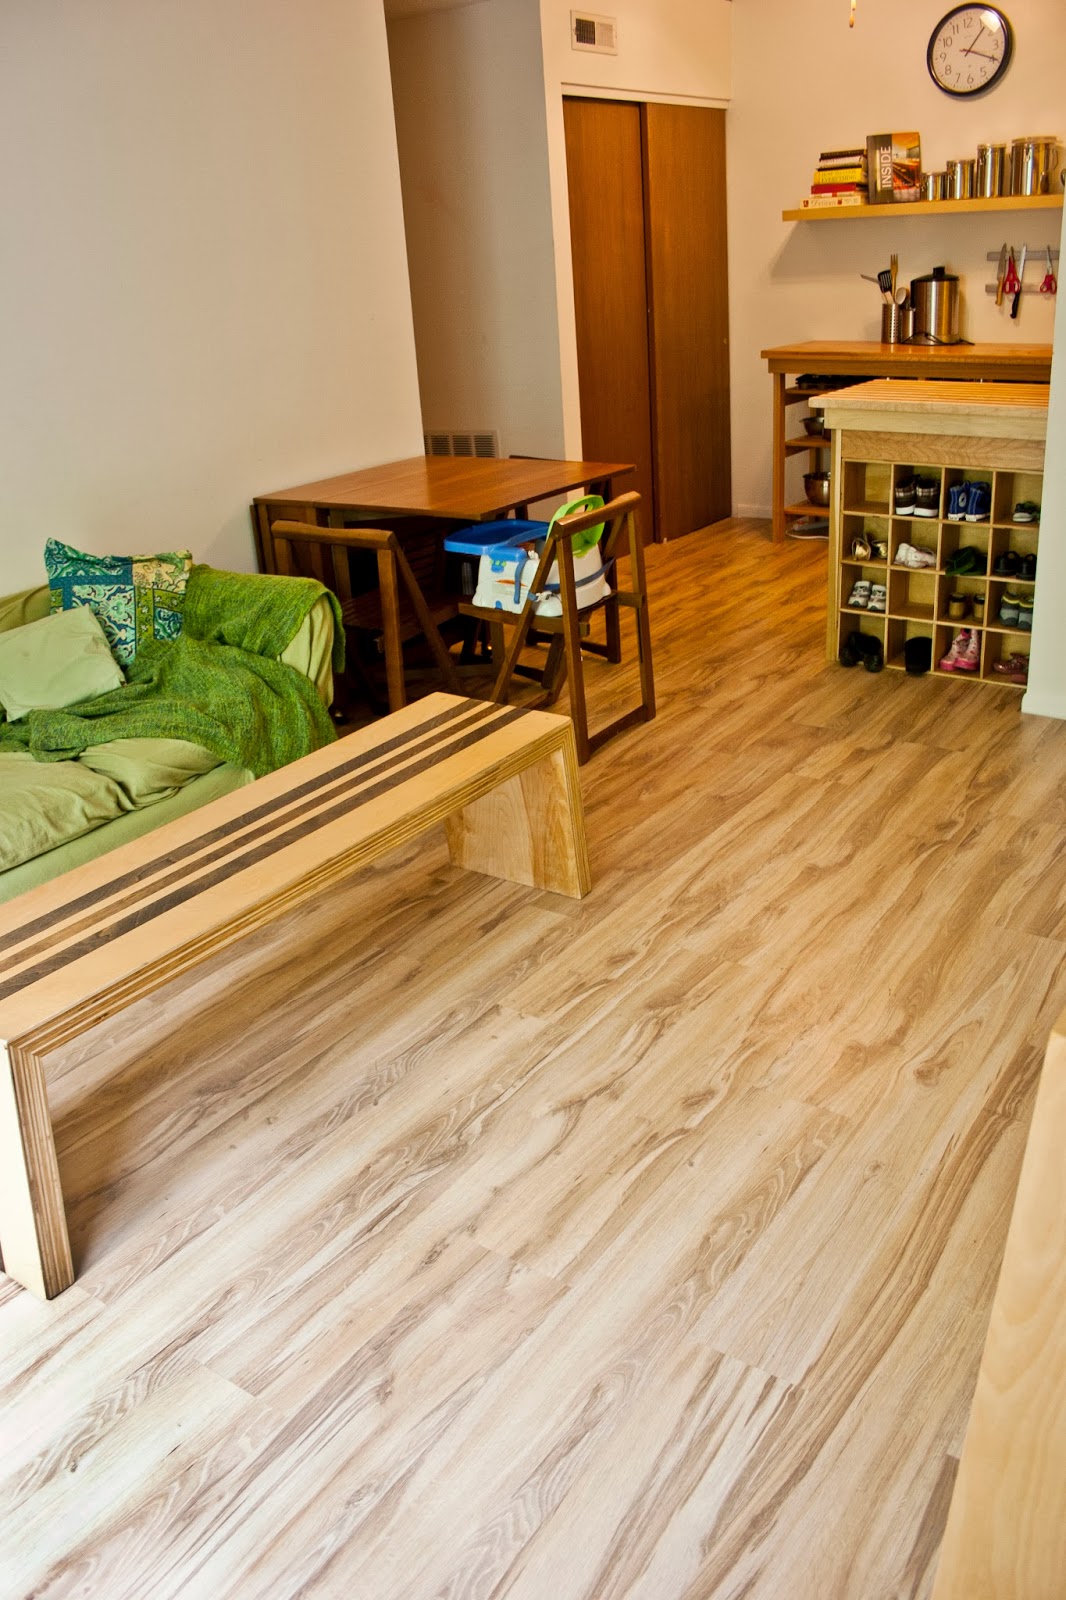
A little research, some grunt work, and BAM!

Well, first of all we talked to our Land Lords before we started and assured them nothing permanent was taking place and they’ve seen it, so we’re good. We didn’t “install” anything, we just more or less laid a floor on top of a floor. We found the hardwood for our space from Lumber Liquidators and it was 39 cents a square foot. If you keep your eye on it you can find deals like that frequently.
I’ll tell you right now, it didn’t all go as planned. If you have a low profile carpet such as berber you can lay the laminate flooring right on top. If you have a higher profile carpet that is plush and padded (like we do) you need to lay a solid surface down to make it firm. We learned this the hard way.
 After J spent a full day and a sleepless night measuring, cutting, and laying the floor down it ended up being way too “spongy” because of the carpeting. It felt like walking in a bounce house or something and J was worried that it would put too much stress on the flooring and cause the joints to snap. So we pulled it all up and put down a particle board plywood called OSB, which J got from Home Depot for about $6 a sheet. Then we relaid all the flooring.
 The next issue was making the sure the floor wasn’t too high or else the front door wouldn’t be able to open. So we left more relief in that area, by spacing our plywood strategically to have more give in certain areas.
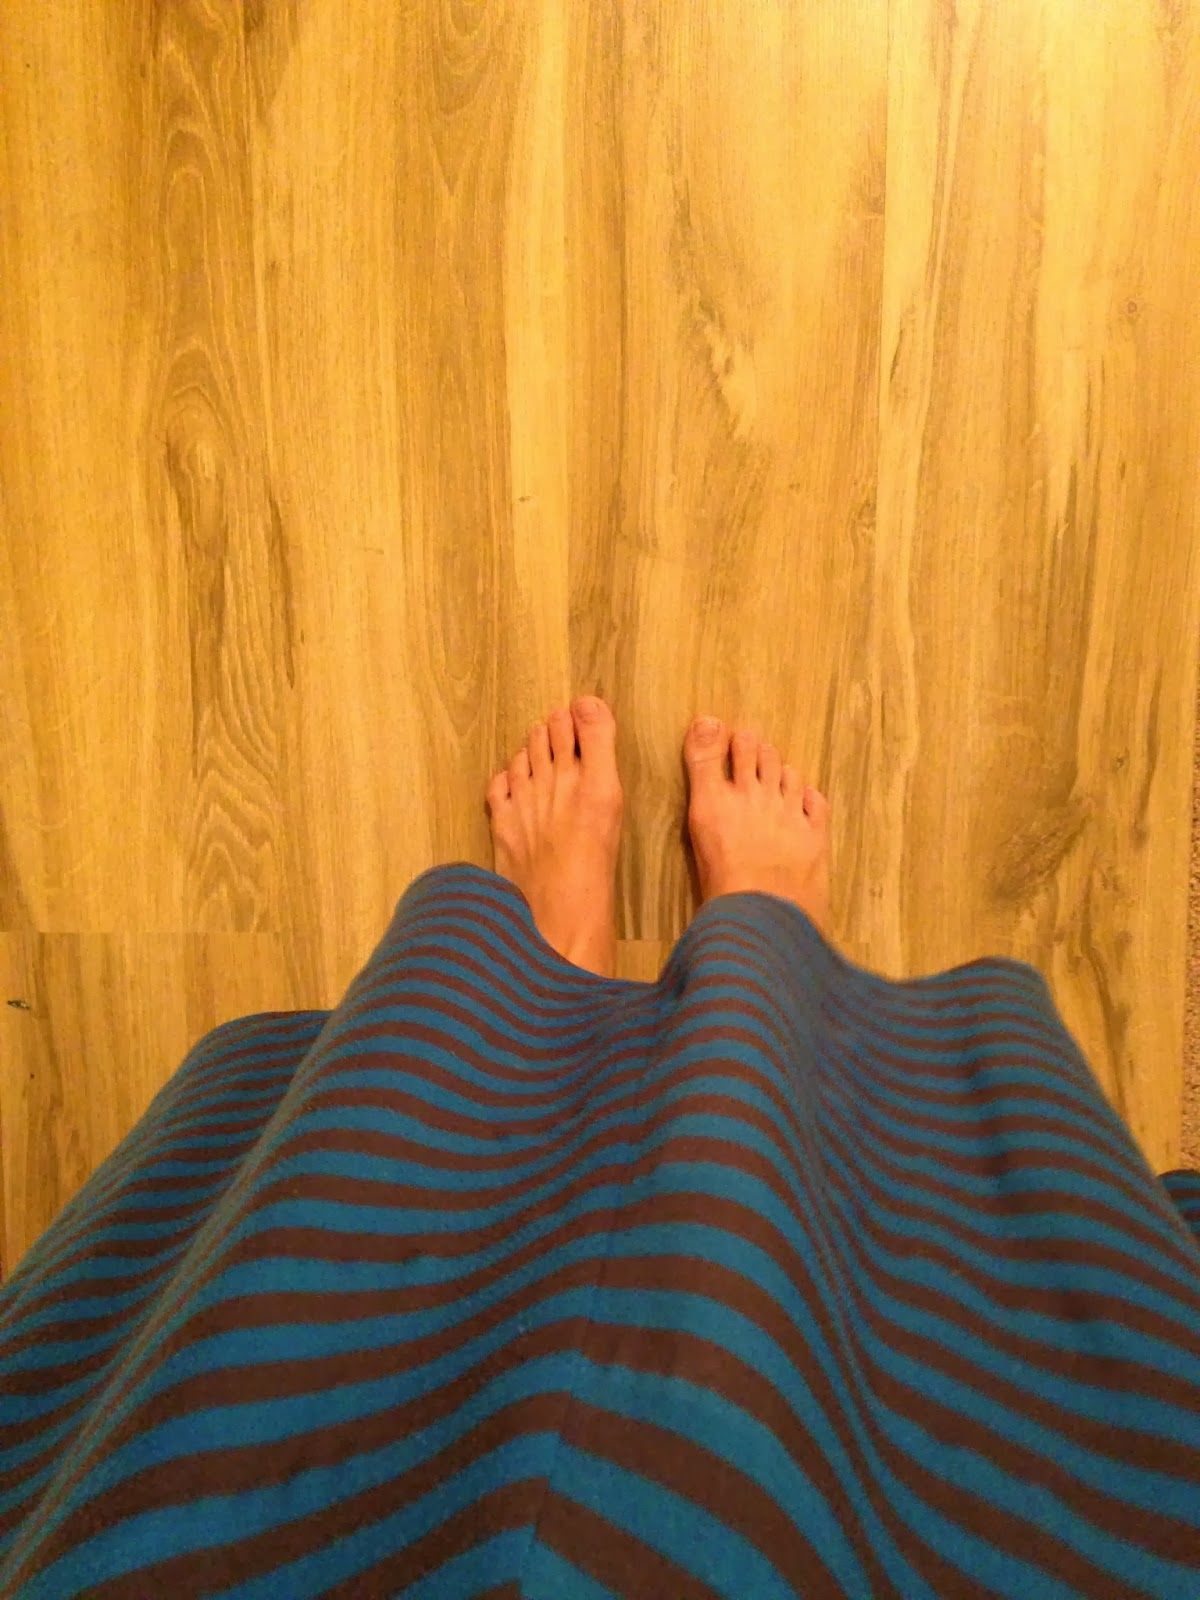
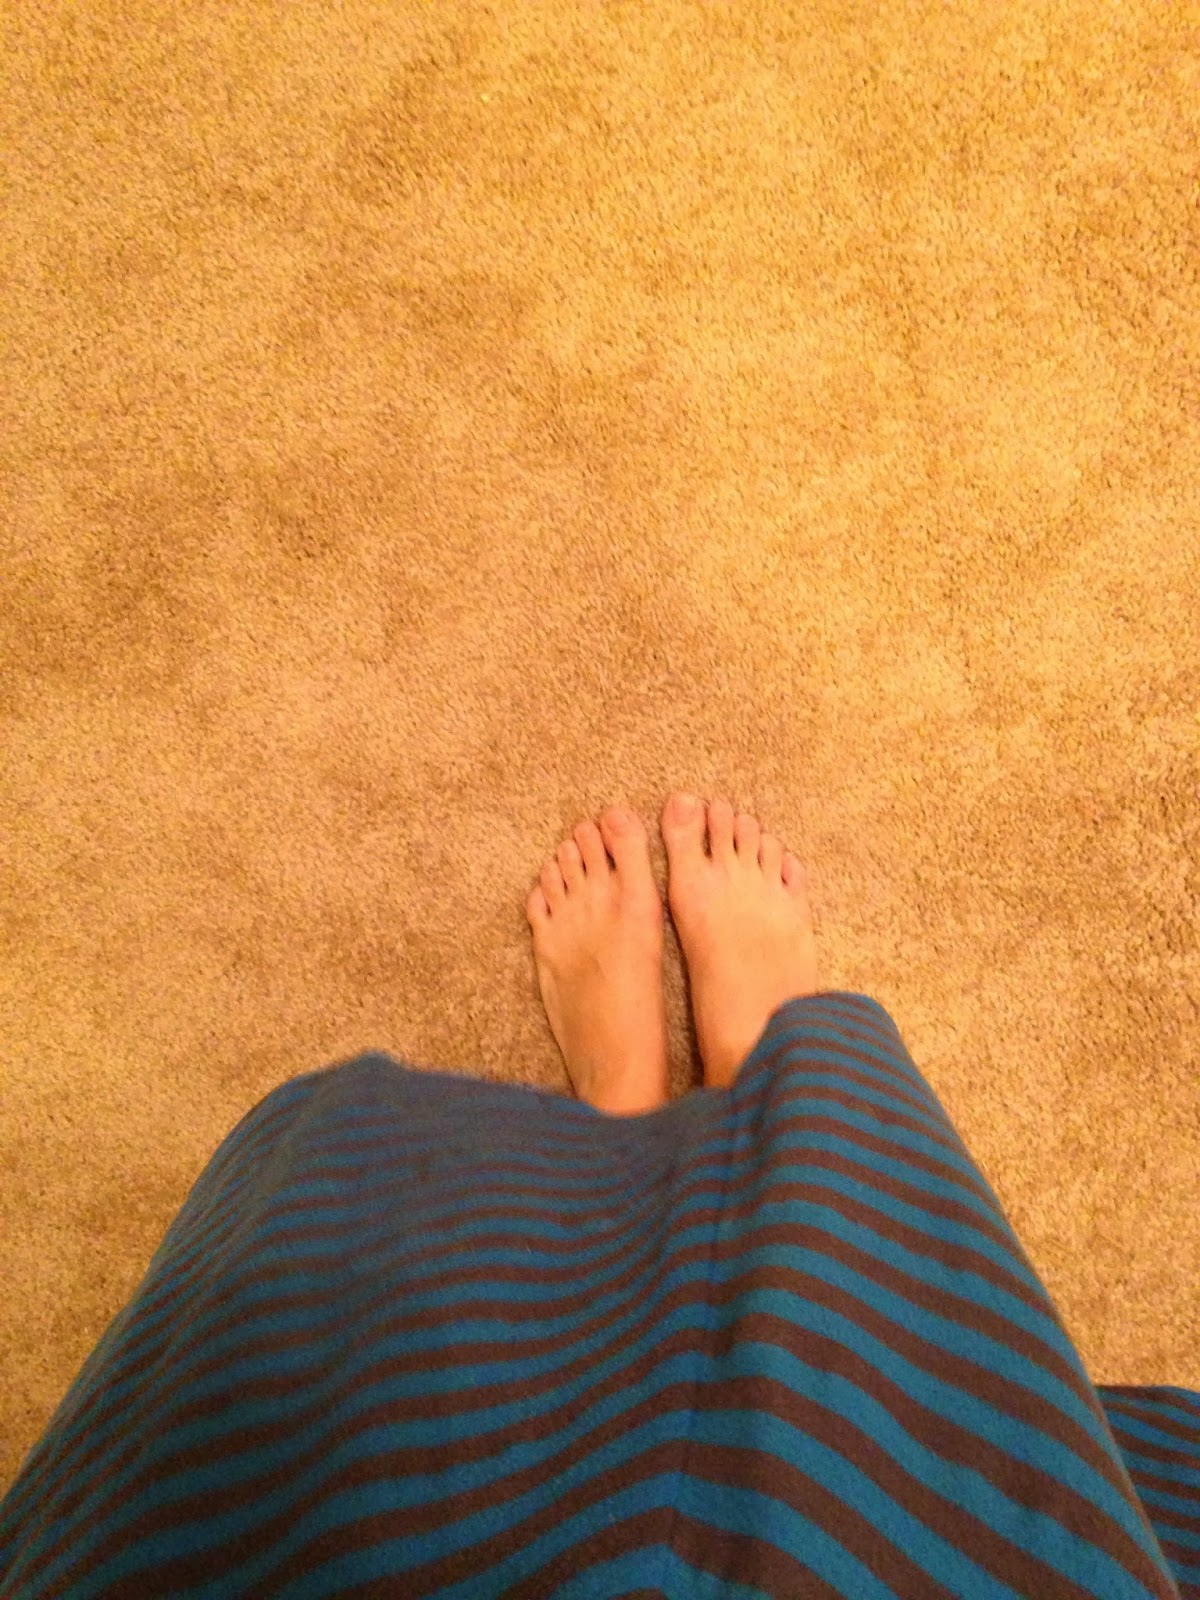
I wasn’t planning on a full blown tutorial for this so I didn’t take many pictures of the process, but here is a picture that shows the three types of flooring.
 More importantly here is the video that J went off of for this little home improvement. This tutorial is great if you have a firmer floor to begin with, if not then take my advice and add the extra step of laying down something like OSB.
If I would have been stuck with the light colored carpet in the dining area, I would have made it work because that’s my life’s theme right now (make it work), but having this wipeable surface is just one less thing for me to worry about. I am extremely grateful and I’ve been very happy with the results.

For more information about how this project turned out and a time lapse video of the entire floor removal process then check out Part Two HERE.


Very cool! We are renting a place with white tile floors and a chocolate lab. We sweep a lot. I can only imagine if it was carpet and babies instead of tile and dogs. So glad you were able to find a temporary solution that works for y'all! Plus, it looks great.
That is an awesome idea!! I love the floor color!
Wow!! It looks amazing!!
Wow, I'm amazed! I had no idea you could do that! Definitely something for us to think about 🙂
That is sooooo cool!
Interesting idea! Can you take the flooring with you when you leave? I mean, if you wanted to?
Amazingly talented husband 🙂
Growingupgillian- Yes. We would have to take it with us or throw it away. It's kind of like how we are allowed to paint, but we have to return the walls to their neutral tones before we leave. Since the wood is custom cut, I don't know how much of it would fit the right way in another room, but it's a possibility!
What a genius idea! Thanks for passing it on. I don't see a link for the video tutorial, though. Maybe I missed it.
What a genius idea! Thanks for passing it on. I don't see a link for the video tutorial, though. Maybe I missed it.
Catherine. AHHHH! Sorry about that. It some how got deleted! I think I was moving thing around before I published it. Anyway, it's there now. Thanks for pointing that out.
Very cool stuff. Is it strong enough to hold if used as dancing floor. Im planning to do something like this.
If you can share. how much is the total project costed
Hi this is Natalie from http://www.messymom.com. I got your questions about putting hardwood over laminate. After 2 years of some very active kids living on it, it has held up decent. The important part is to make sure you have that plywood underneath because if not the floor will flex too much. Even with that we still have some boards that have started to peel up. That's why I am not sure if a dance floor would work or not. I also don't know the final cost of the project. I hope that helps a little.
Have you (or another reader) yet experienced the moving-out process? Did it end up being damage-free for the carpet underneath after removing?
We haven't moved out yet, so I can't specifically say for sure that there is no damage whatsoever. From what I can see underneath (in the area that is closest to the hallway where the hardwood ends) it looks fine. We didn't use any nails, even if something spilled on it it would not go through. At this point it has protected the carpet and it looks better than it does in the rest of the apartment.
how long did it take?
For cutting and installing it took about 8 hours.
I'm quite impressed at how great that it looks. These kind of projects can take some time, and even then, they don't always look great. However, it appears that your husband is quite the handyman! I would have been tempted to just tear up the floor. That seems like it would have been easier. But, if you can do it this way, then good for you! http://naplesflooringgallery.com/
Is this a good idea or a bad idea if i have an upstairs apartment? ? Do you know if it makes sound better or worse for the downstairs neighbors? ?
We live at the very top floor of our apartment and if I were I honest we are pretty sure it makes the noise worse :(. Granted you still have the carpet underneath and you can hang things on the wall to help buffer sound too. I don’t think it’s going to make a major difference if you do or don’t, but I know it doesn’t help with the sound of foot traffic.
We have Berber carpet. It’s been down approximately ten years. It’s in beautiful condition except now we have animals.. I’m hoping we can lay wood flooring on top as you suggested. It looks and sounds simple enough? I will let you know.. Thank you for this video, it will help a lot..
Awesome. I can’t wait to hear how it goes.
what did you do about the edges?would a little bit be left exposed and also what about the corners that we not straight edge did you cut it to fit around ?would it be possible for me to glue the boards to the plywood to hold better
Natalie, how is the subfloor secured?
It’s not. We just lay it right on top of the carpet and then put the hardwood on top of that. It stays in place under the weight of the laminate (especially when you add furniture on top of that). We have done this twice now because we moved and it has never shifted or caused any problem. I hope that helps.
Do u think this would work for my son in a wheelchair.
Great article! I’ve been trying to find someone with real life experience installing new laminate flooring over a padded carpet and all I can find are contractors and handymen warning against it, saying it will void the warranty. I mean, really! How many times have you tried to get warranty work done if a building product failed? In my experience it is almost impossible, but luckily, it’s almost never necessary. This article goes to the heart of the matter and gives great advice that will save me tons of work and result in a better job. Kudos to you, Messymom!!!
I am really interested in doing this to my apartment, but I am a little aprehnsive. I’ve read lots of articles about possible mold damage from doing this. What have you heard and how have you combated this problem?
Really? We had it two years in our apartment and reinstalled in our current home. Never had any issues with mold at all and that’s with messy children and a lot of spills so I am kind of surprised to hear that. I would just follow the instructions from this tutorial and the video and you should be fine.
What was the thickness of OSB? 1/4 in? 1/8 in?
We used 1/2 inch OSB.
Dear Nat, thank you for your super helpful sharing! I am trying the same with IKEA laminate floor (as it is the cheapest I can find here in Australia). After a trial laying I found same problem I need a board underneath. Turns out that the cost of board is same as the floor (6mm)
HI Natalie,
I saw you posted you moved and installed it again how did the rug look after you removed the first one? How did you get it to come back up I assume you get that flat look when furniture has been placed on a rug for years.
George. We lived in the apartment with furniture on it for two full years. We had no issues with the carpet flattening. A quick vacuum was all it took to make it look like new again. You can see the entire results in this time-lapse video we took during the carpet removal. I am not sure what would have happened if we had lived there for longer. https://www.youtube.com/watch?v=Kfqpfe80Rmg
I have the same question as george. When you moved was there any issues with getting the carpet back to shape after being flat for years?
Hi Allie. We lived in the apartment with furniture on it for two full years. We had no issues with the carpet flattening. A quick vacuum was all it took to make it look like new again. You can see the entire results in this time-lapse video we took during the carpet removal. I am not sure what would have happened if we had lived there for longer. https://www.youtube.com/watch?v=Kfqpfe80Rmg
Thanks for this article and videos….need to have a solid floor in order to install some EMF shielding (magnetic fields and RF fields from below). Off to Home Depot!
Hello! I think I will try to accomplish this in my new rental. What kind of floor is it? just a regular laminate? It looks great!
Yes it is laminate flooring that looks like wood. Thanks!
This is exactly what I am looking for but wondering if this would work as just a mat. I am moving into a carpeted room and only want to put the hardwood under the kitchen table and the refrigerator
You mentioned that you got the flooring for 39 cents per square foot. Do you have a guesstimate on how much the OSB was per square foot? Thanks for sharing your experience.
I believe she said it was six dollars a sheet and it was a half-inch thick
I am on the verge of signing a lease for an amazing apartment, but the bedrooms are all carpeted. It was almost a deal breaker! This article gives me hope! I have a carpenter who says he can install the laminate flooring and that it would be done in a temporary way so it would not be in violation of the lease that states I cannot alter the apartment. I’m going to go with it! Thanks again. I’ll come back and post my results.
Hi Betty, have you had good results?
Hi Natalie this idea is amazing!!! I’m so thankful for this as I hate ca carpeted room in anything but a bedroom.
the question I have for you is how do you do the transitions and make them look clean? Where the wood floor and the entry to the bathroom or kitchen meet for example. I want to do this asap but I’m afraid those areas will not transition correctly.
Hi Natalie, I was reading plywood attracts roaches and wood bugs, did you have any issues with bugs, roaches?
did you get treated plywood or simple plywood?
Thank you
John
Hi John, absolutely not. I can’t answer for everyone who has tried this but we never had any issues.
Thank you for sharing this blog. Wood laminate flooring directly over the carpet. We didn’t know enough about our future to justify the time and expense.
it looks good i have carpet to much work
i am going to put a hardwood floor over my carpet it is very low pile capret.
thank you.
Do you think that putting some weatherproof silicon in between the joints might prevent liquids from seeping through on to the carpet?
Just stumbled across your post. So glad I found it! Very helpful. I will be (hopefully) using this in one bedroom that will be a “dog room”. Did you lay underlayment on the OSB board before putting the laminate down on it? Thank you
Glad I could help! We did not use any underlayment personally. Just the OSB board on top of the carpet then the laminate. I am sure anything you could add to make it more durable and give it less flex would probably be a good idea though, especially for dogs. Good luck on your project.
Excellent material, a lot of useful and necessary information that must be used, a lot of pictures that help to understand the material.
wow U totally transformed the room! It looks fabulous!
Wowzer!!!!? Saved the day for me.
THANK GOD
Do you put the OSB spaced our or completely next to one another under the harder flooring?
We spaced it out a good 6 inches apart. It wasn’t exact, but they definitely weren’t side by side.